How to label household cables so devices are easier to reconnect
· Editorial team newsfromboston24.com
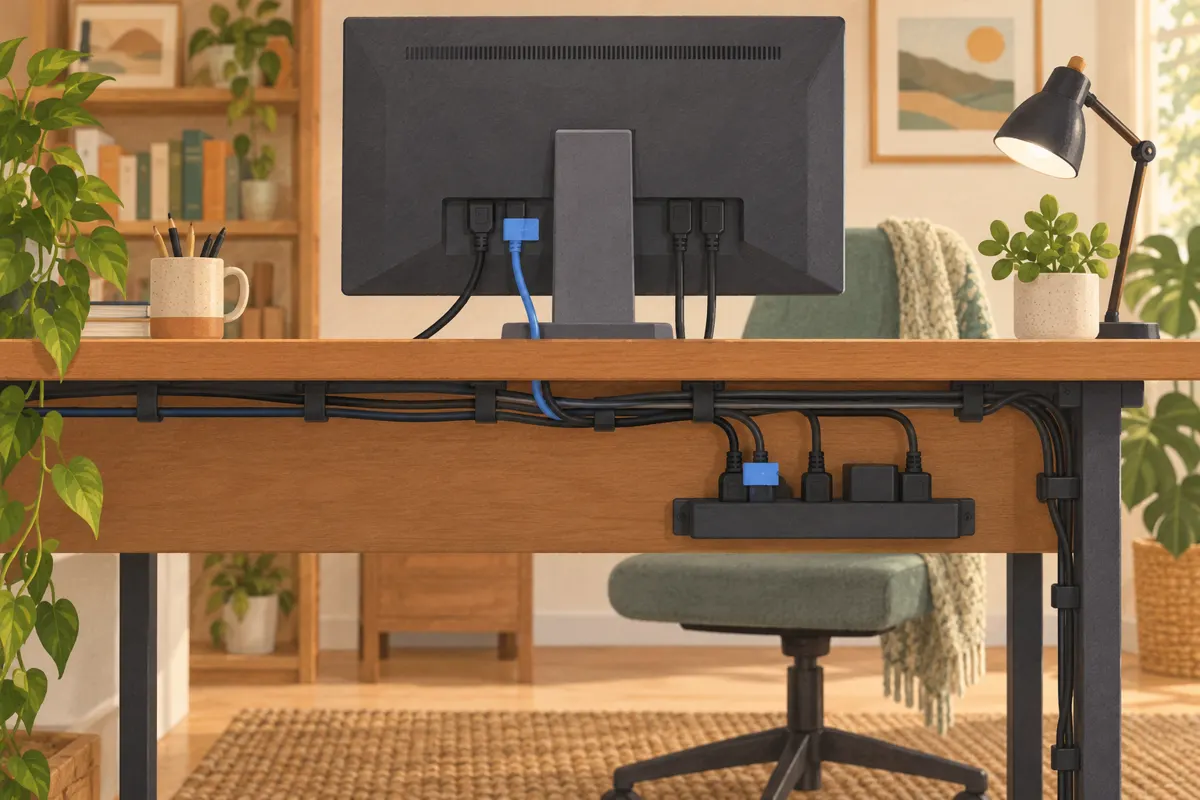
Put matching labels near both ends of every cable, then record which device and port each end connects to. Do this before bundling cords behind a desk or TV. When you move equipment or disconnect it for cleaning, you can restore the connections without tracing each cable through the entire setup.
Identify each connection before unplugging
Start with the connections as they are. Take a clear photo of the back of the TV, computer, dock, or router, including the port names. A wider photo can show where power adapters sit. These pictures provide a reference, but a written connection list is easier to use when port markings are hidden.
- Choose one cable and follow it from one end to the other.
- Note the two devices and the port names or numbers printed beside their sockets.
- Give the cable a temporary identifier if several cords look alike.
- Repeat until every connected cable has an identified purpose.
Save open work and shut down equipment as appropriate before disconnecting it. If a cable disappears behind furniture and you cannot identify its other end, leave it connected until you can inspect it. Labeling is easier when you handle one known connection at a time.
Choose names that explain the cable’s job
Use short, readable names that distinguish both the device and the connection. “Monitor” alone is ambiguous when the same screen has a power cable, a display cable, and a USB connection. Color can help you spot groups, but keep written names so another person can understand the system.
A proposed naming scheme for an ordinary household setup is device plus function. Add a location when you have duplicate devices:
- TV HDMI — streaming player to television.
- Desk monitor power — monitor to its power supply.
- Desk USB — computer to USB hub.
- Office network — router or wall socket to computer.
Use exactly the same spelling on both labels and in your connection record. If two cables would receive the same name, add a distinguishing detail such as “left monitor” or the connected device’s name.
Attach matching labels at both ends
Place each label on the cable jacket near its connector, where you can read it without pulling the cable out. Keep the connector, release latch, and flexible section immediately behind the plug clear. The matching name should be visible at both ends, even when one end sits inside a cable tray.
- Flag labels provide a projecting surface that is easy to read among closely spaced cords.
- Self-laminating wrap labels cover the written identifier with a clear protective layer.
- Handwritten tape can serve as a temporary label while you decide on permanent names.
Use clear lettering with strong contrast. Before labeling the whole setup, check that one sample remains readable from your usual access position. For a separate power adapter, a proposed extra step is to mark the adapter with the device name, leaving its specifications and warnings visible.
Keep a simple record of device ports
A cable name identifies the cord; a connection record tells you where to plug it back in. A note on your phone or a sheet kept nearby is enough for a small setup. Record the cable label, the device at each end, and the exact sockets used.
For example, a proposed entry is: “TV HDMI: streaming player HDMI output to TV HDMI 2.” Copy the actual port markings from your equipment. If you change a connection, update the note immediately and replace any label that has become misleading.
Group cords while keeping connections accessible
Once the labels and record are complete, arrange cables along the back of the desk or TV furniture. Clips, trays, and sleeves can keep cords contained. A proposed approach is to use reusable ties where you expect to add or remove devices, with labels remaining outside the bundle.
- Group cables that follow the same route, leaving plugs and release latches reachable.
- Gather excess length loosely without sharp bends or tension on connectors.
- Keep cords and adapters clear of device ventilation openings.
- Leave enough slack for monitor movement or the full height range of an adjustable desk.
- Reconnect using your record, then check that each device works before closing sleeves or securing bundles.
Finish by checking that you can read a label and reach its plug without dismantling the whole arrangement. That access is what makes the system useful during the next cleaning session or equipment change.