How to keep leftover craft materials organized for reuse
· Editorial team newsfromboston24.com
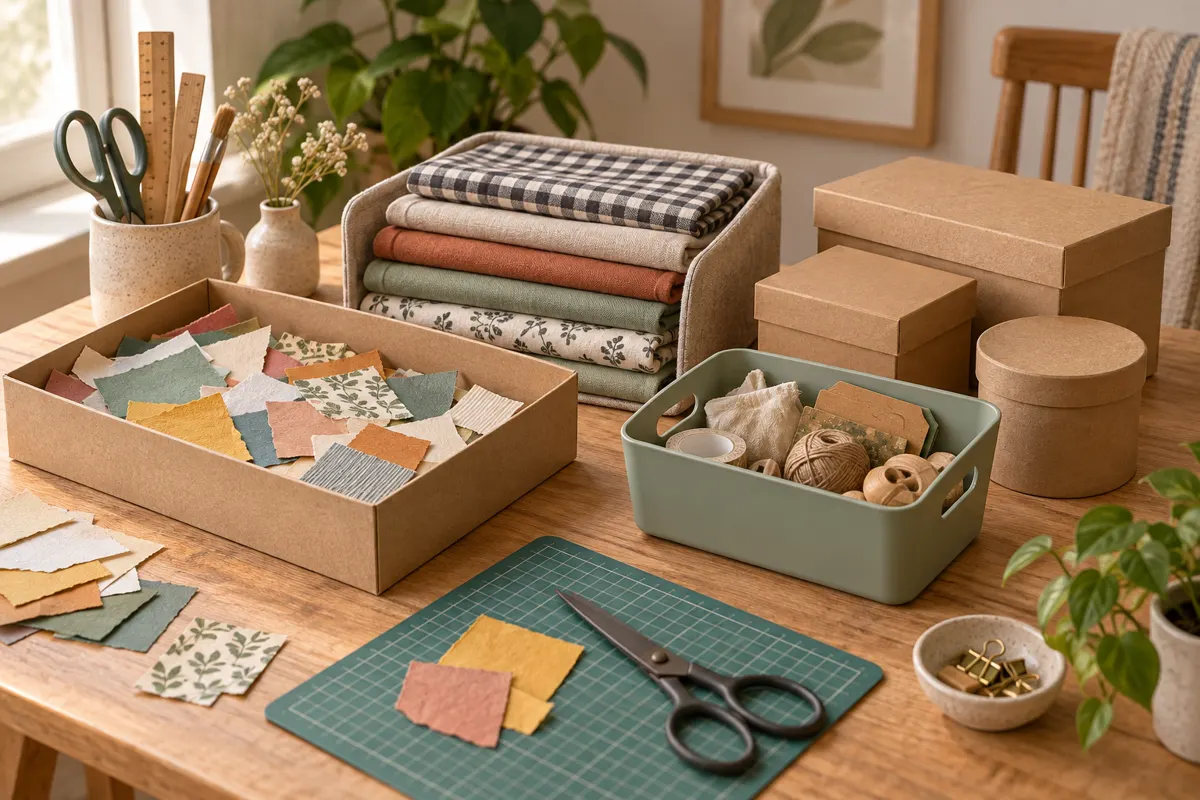
Keep leftover craft materials in separate, visible containers for paper, fabric, and reusable packaging, and reserve one small bin for your next project. Save pieces you can realistically use, give each category a fixed amount of space, and check your leftovers before opening new supplies. The following routine is an editorial proposal you can adapt to your crafts and available storage.
Sort leftovers by what you actually make
Start with the scraps already on your work surface. Spread them out so you can see their size and condition, then group them by material. Avoid sorting everything by color immediately: a red fabric offcut and a red paper strip usually belong in different places because you use them differently.
- Paper: separate usable sheets and larger offcuts from small strips or shapes.
- Fabric: group pieces large enough for sewing separately from narrow strips intended for ties or decoration.
- Packaging: keep clean boxes, cardboard, tubes, and tissue paper that suit a likely project.
- Small extras: give buttons, beads, ribbon ends, and similar pieces their own compartments.
Choose your own minimum useful size. If you make collages, small paper pieces may earn their space; if you sew pouches, tiny fabric slivers may not. Keep materials that match your habits, rather than every piece that could theoretically become something.
Use visible containers you already have
Look through your existing storage before buying organizers. Jars can hold small supplies, while divided drawers and baskets can separate larger materials. The organizing ideas in SheKnows include jars for buttons and beads and drawer organizers for sorting supplies.
For this leftover system, try a shallow box for paper, a clear container for folded fabric, and one basket for packaging. Use containers that let you inspect the contents without emptying them. If a box is opaque, label its front with a plain description such as “paper scraps” or “fabric strips.”
Keep categories broad until you have a reason to divide them. One paper box with a divider for small pieces may be easier to maintain than several tiny boxes. Place frequently used leftovers within easy reach of your crafting area.
Store each material so it stays usable
A useful storage system protects the pieces as well as gathering them together. Avoid cramming scraps into a container so tightly that retrieving one item scatters everything else.
- Lay paper offcuts flat, with larger pieces underneath. Put tiny shapes in an envelope or small tray inside the same box.
- Fold fabric pieces loosely so you can see their patterns. Keep narrow strips together in a separate pouch or compartment.
- Flatten suitable empty boxes and stack cardboard pieces together. Nest smaller boxes when you want to preserve their shape.
- Wind leftover ribbon around a piece of scrap cardboard, with the end tucked in.
- Store only clean, dry packaging. Leave out pieces with food residue, persistent odors, or damage that makes them unsuitable for your intended use.
Fill a small bin for your next project
Give reuse a practical destination. A separate project container lets you gather selected materials and keep unfinished work together. Reserving a drawer for projects between crafting sessions is also suggested in the supplied craft-storage article.
- Choose one manageable project, such as gift tags, a patchwork panel, or a decorated storage box.
- Check your leftover containers and select pieces that suit it.
- Put those materials in a small project bin with a note describing what you plan to make.
- Keep the bin accessible and return unused pieces to their categories when you finish.
Keep this bin focused on one project. If it becomes another mixed scrap collection, empty it and choose again. Before cutting a new sheet or length of fabric, check whether a saved piece can do the job.
Make putting scraps away part of cleanup
At the end of a crafting session, return useful leftovers directly to their containers. Avoid leaving a separate pile to sort later. This small cleanup step keeps the system ready for the next time you work.
Use each container as a space limit. When one fills, review its contents before adding another box. Keep the pieces you are most likely to use; offer suitable extras to someone who wants them, or discard unwanted material through the appropriate local waste route. If a category repeatedly goes untouched, save less of it.